
This a How to I did on my Daughters Escalade it was featured
in Auto Art Magazine May / June 2006
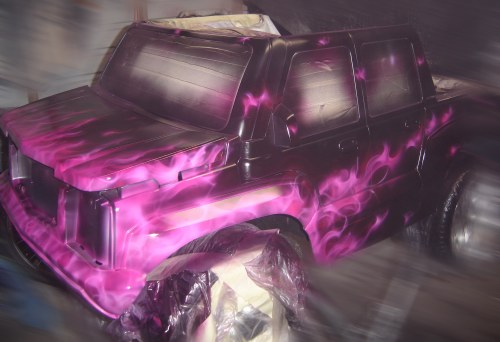
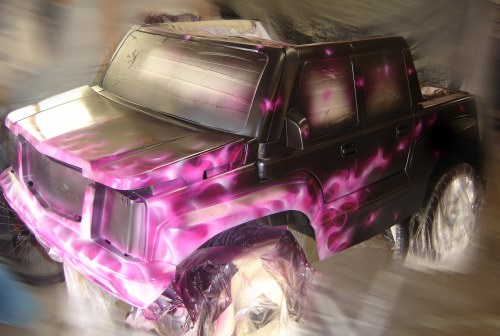
Pink flames on an Escalade, what was I thinking!
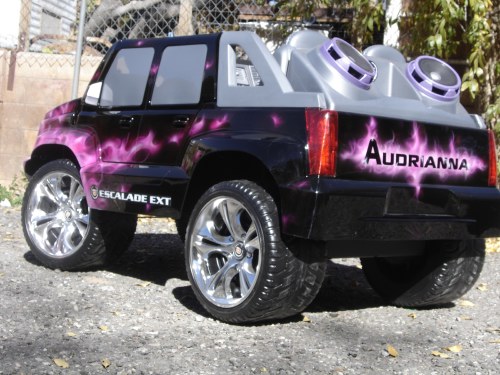
But you have to admit that they look pretty darn cool. I know that you are not going
to get many five year old customers wanting to paint up their power wheels. But these
techniques can be used on quads, dirt bikes, or any other plastic pieces. This is how
I prep almost everything I paint, so have some fun with the colors, experiment and
don't be afraid to try new color combinations.
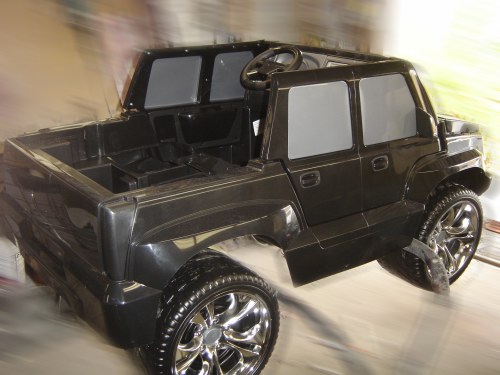
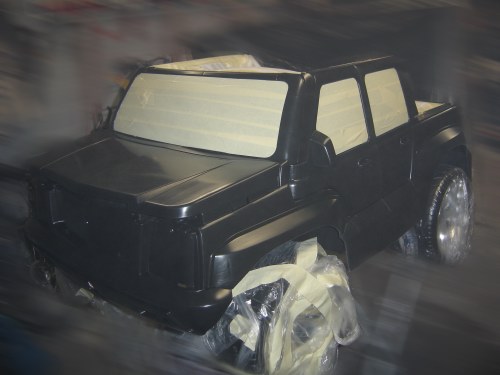
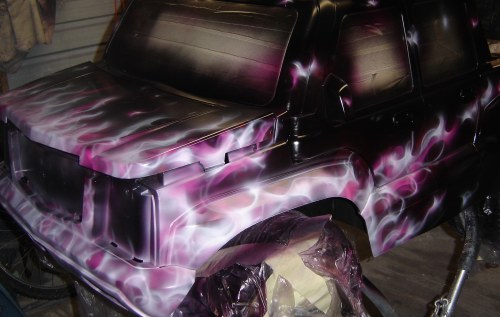
1. First we look over the vehicle and see exactly what we want to paint. We remove
everything we can to make it easier to paint and also reduce the risk of any over spray.
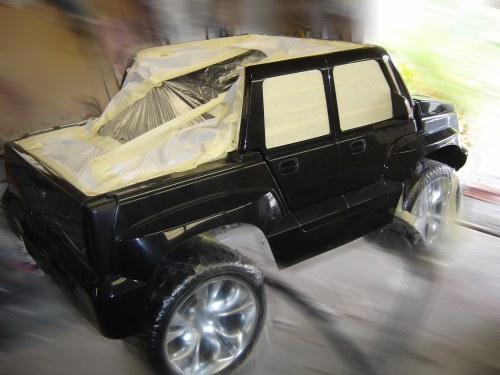
2. I mask up the vehicle for scuffing, so that I don't scuff anything I'm not suppose to.
I take a red scuff pad and a bottle of Scuff-it and scuff up all the parts. Making sure to
get in all the corners. Rinse thoroughly and on to the next step.
3. Degrease and tack. I use plastic prep on Sontra towels and wipe dry useal tack clothand get any
dust off.
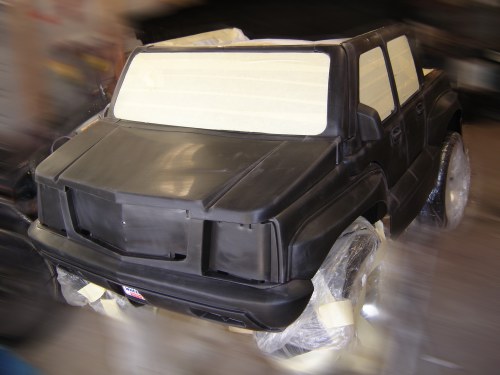
4. Here we have sprayed two coats of adhesion promoter allow proper flash time. I follow that up by spraying a
coat of plastic adhesion sealer and allow 15 to 20 minutes to dry.
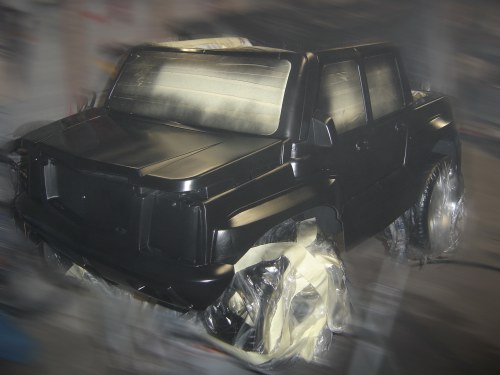
5. Time to apply the basecoat. In this case black, and no not all blacks are created
equal. if you are touching up a car, you need to get the correct color code for that vehicle I am
spraying the whole truck so it dosent apply here.
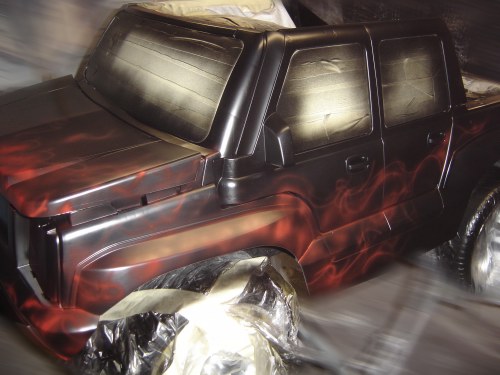
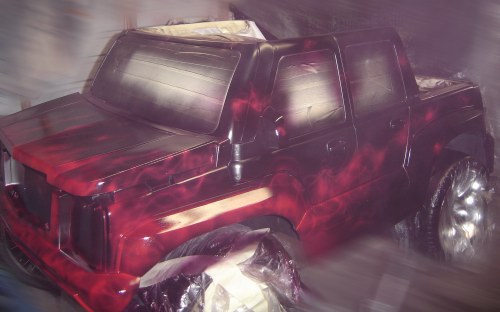
6. Finally it is fun time, lets lay out some flames. The first layer will be the darkest,
so we use red. Loosely lay them out and fill in the areas. In the first layer there is
not a lot of detail and always keep the flow in mind.
7. Here is the first layer all laid out.
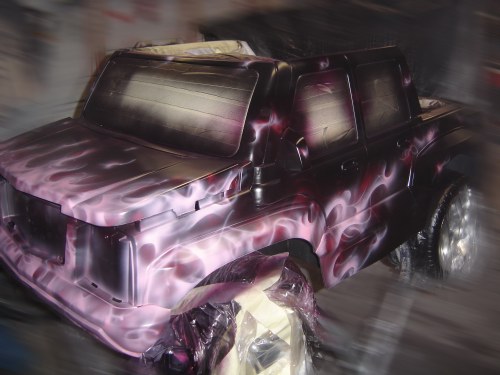
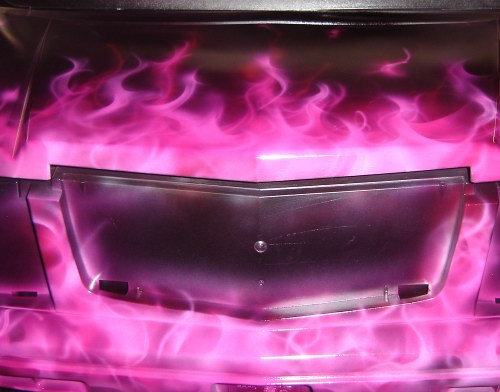
8. Time to spray the first coat of kandy kk pink. One coat is usually enough but you may
have to apply a second coat.

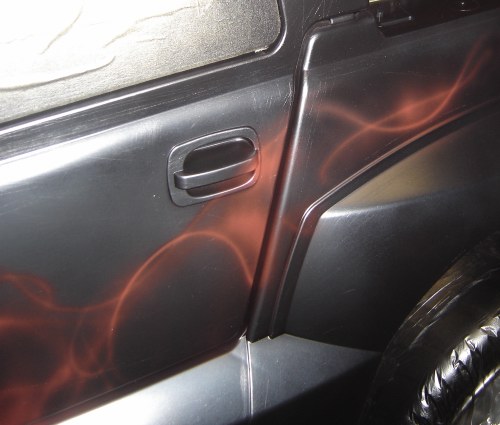
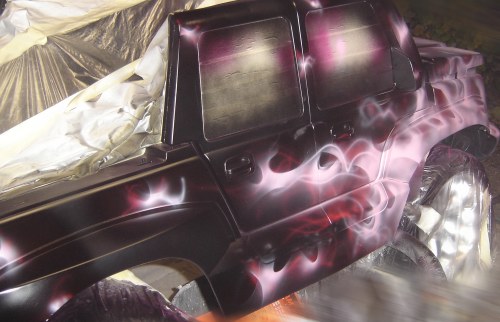
9. Here is a close-up of the first layer complete.
10. Now we lay out the second layer of flames. Trying not to completely cover up the first
layer and at the same time adding more detail. We take the original red and mix 50/50 with
white.
11. Here is another view.
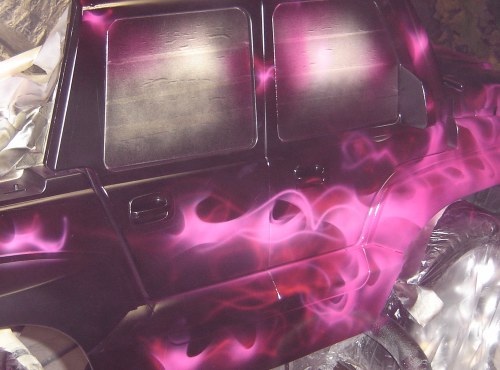
12. Lets spray some more kandy pink.
13. Time to spray the third layer of base coat, this time we use straight white. With even more
detail and remember don't cover up your prior layers completely.
14. This will be our last kandy pink coat.
15. Here is the front after these few layers.

16. Hold on we are almost done, we take the white and we do a few highlights. They will be on
the hottest part of the flame. And remember less is more.
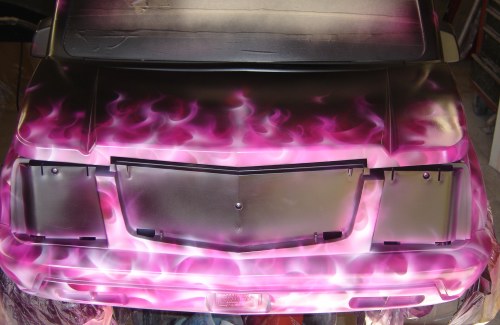
17. Here is the front close-up after the highlights.
18. Time to do the touch-ups. Anything we don't like using the black base coat. Do not use the
black in the center of the flames it will kill the depth you want to use it around the edges
After this you need to aplly two to three coats of clear.
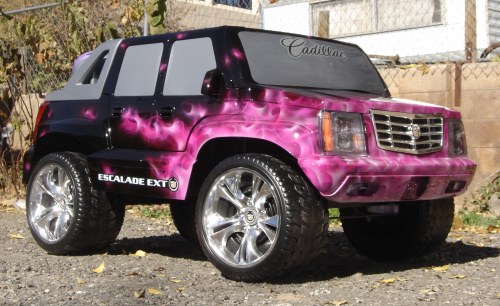
19. Ok we are all done, time to cut, buff, and put the vehicle back together.
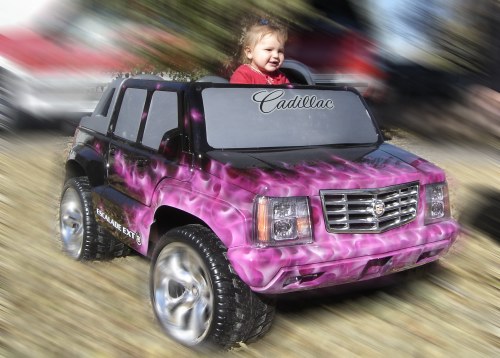
20. Call your customer and collect your smiles. Oops! I mean your dollars.
Colors Solid
Black BC-25
White BC-26
Red SG_104
Kandies
KK-18 Kandy Pink
Binder For KK-18 Sg100
Reducer ru 311